Introducing In-Browser Desktops: Instantly Launch Powerful HPC Visualizations
Rescale is pleased to introduce a handy new feature now available on our platform, In-Browser Desktops. With this new feature, all you need is a modern web browser and a few clicks to connect to a powerful remote desktop for your pre/post-processing and visualization needs.
In-Browser Desktops are the fastest way to launch a visualization node from a running job—no need to set a password, download a connection file, or run a tunnel script. This also means that you will be able to securely access the remote desktop even if you are behind a firewall over simple HTTPS. Everything runs seamlessly and securely through the browser.
When connecting to a desktop, you will be able to choose from using an In-Browser Desktop or downloading a Remote Desktop Protocol (RDP) or Virtual Network Computing (VNC) client file to use your own remote desktop client, just as before.
Here is how to launch an In-Browser Desktop for visualization from a running job.
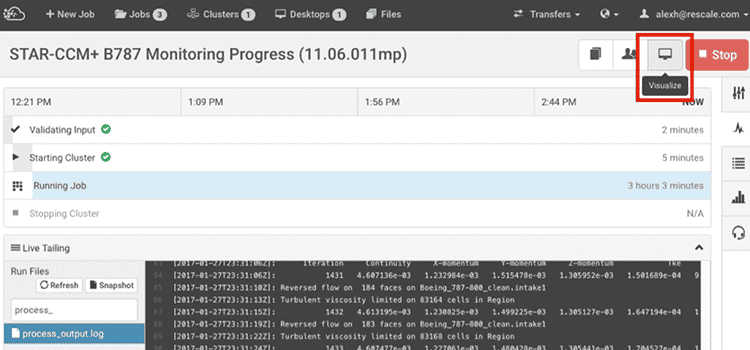
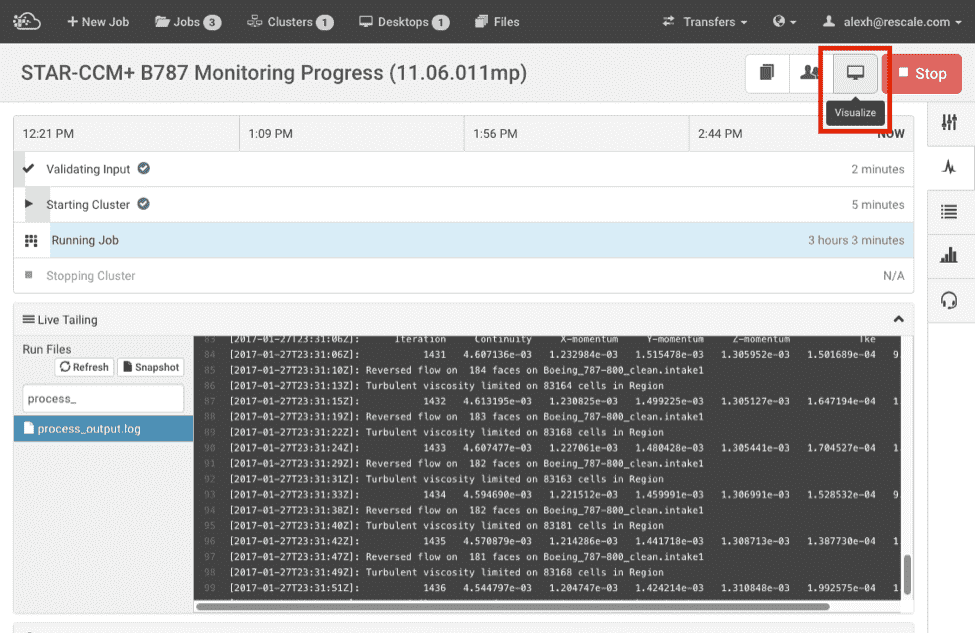
Step 1: Select “Visualize” for a running job.
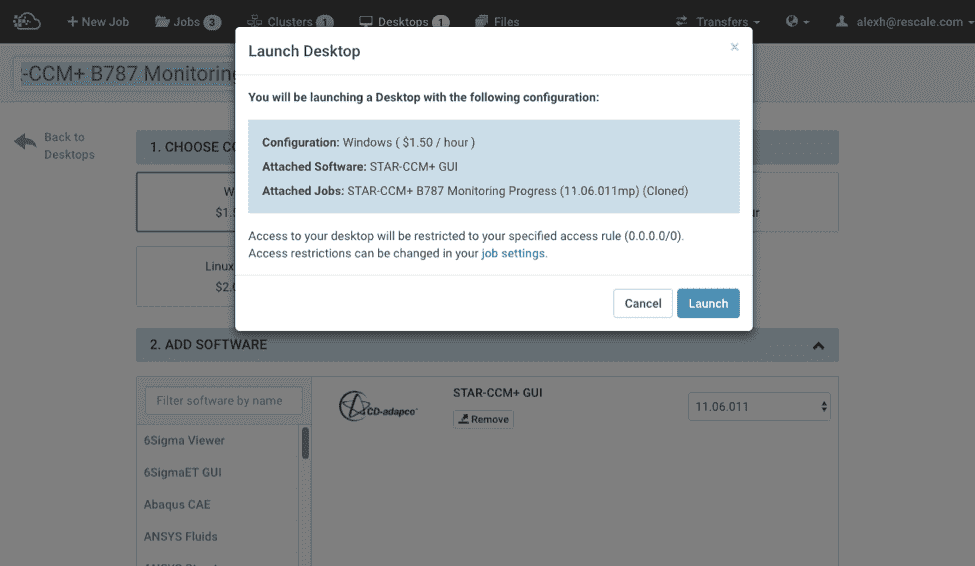
Step 2: Select “Launch” to confirm your Desktop configuration.
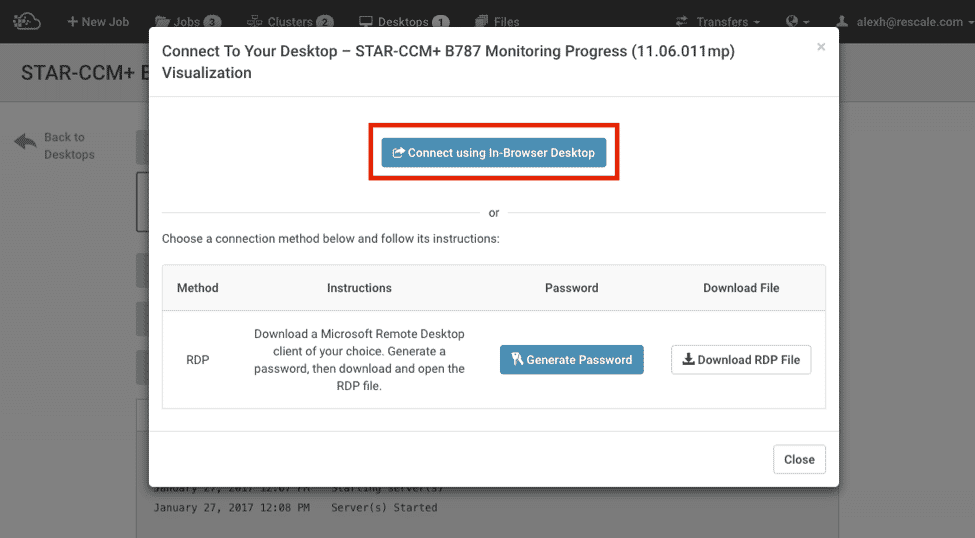
Step 3: Click “Connect using In-Browser Desktop” and…
…Voila! You can now monitor your jobs directly from your browser, as shown in the STAR-CCM+ example below.

Compare this with using your own remote desktop client to visualize your results, which is a multi-step process as outlined below.
- Step 1: Download an RDP client specific to your operating system.
- Step 2: Select Generate Password and copy the password to your clipboard.
- Step 3: Download an RDP client file.
- Step 4: Launch your RDP client and open the file downloaded in Step 3.
- Step 5: Wait for the system to initialize, provide an appropriate username and password from Step 2 and log-in.