Okta SSO Setup

Step 1: Log In and Access Admin Panel

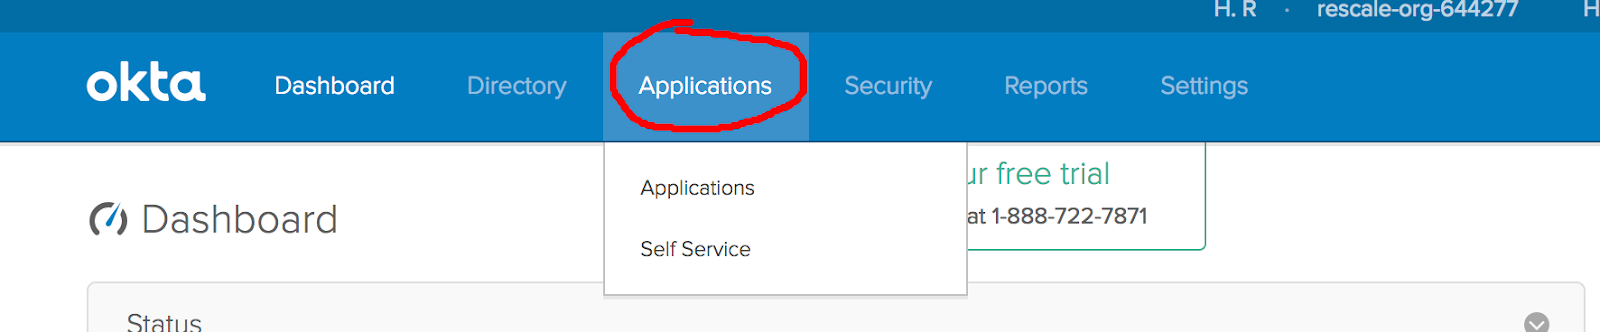
Log in to your Okta admin account and access the admin dashboard.

Step 2: Application Setup

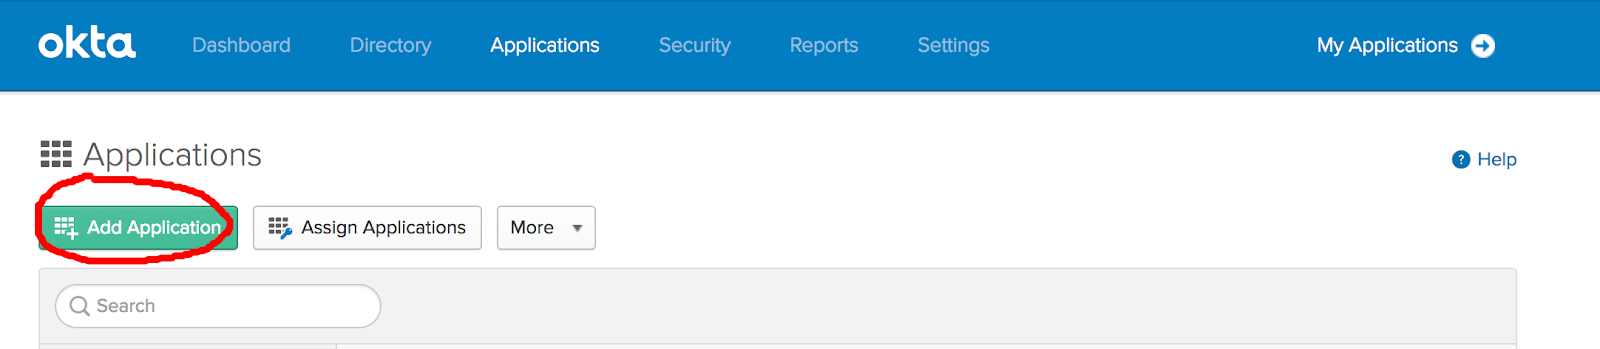
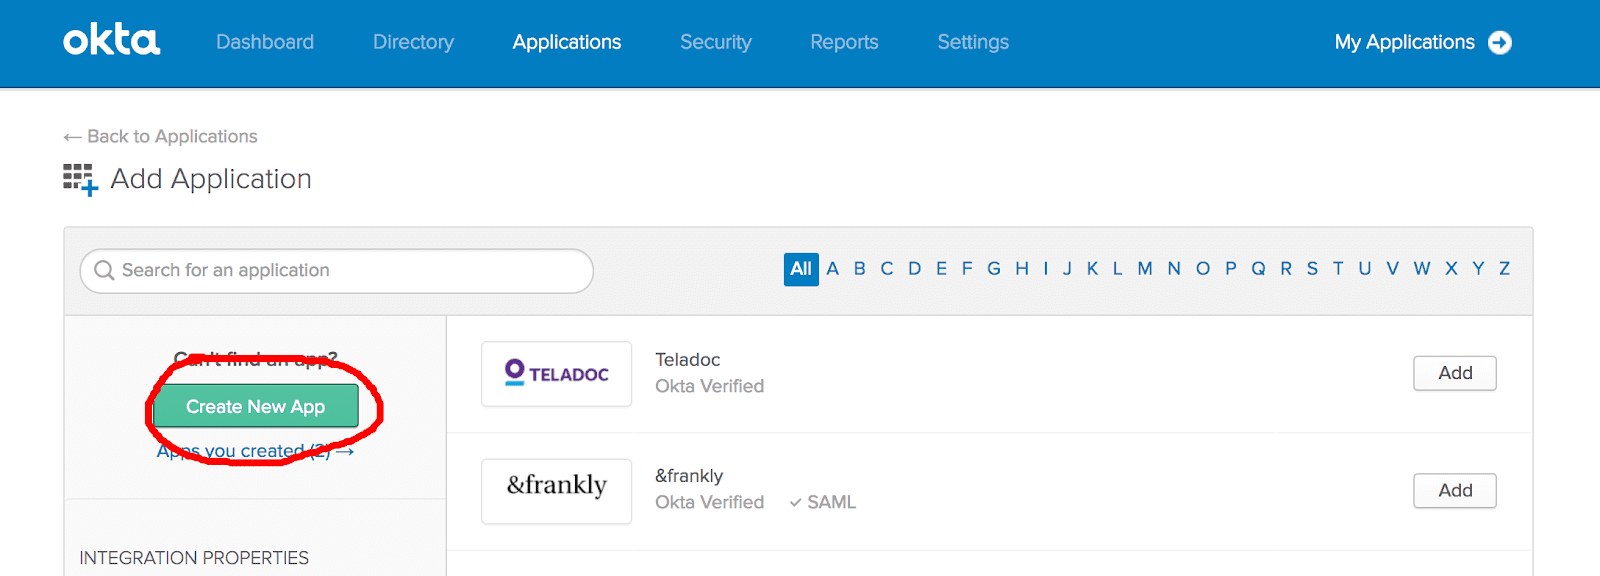
Go to the Applications section and click on “Create App Integration.”

xs2sRRvNezuXS1Hkh8UVZ20lfKcuGAIM0fiUEry

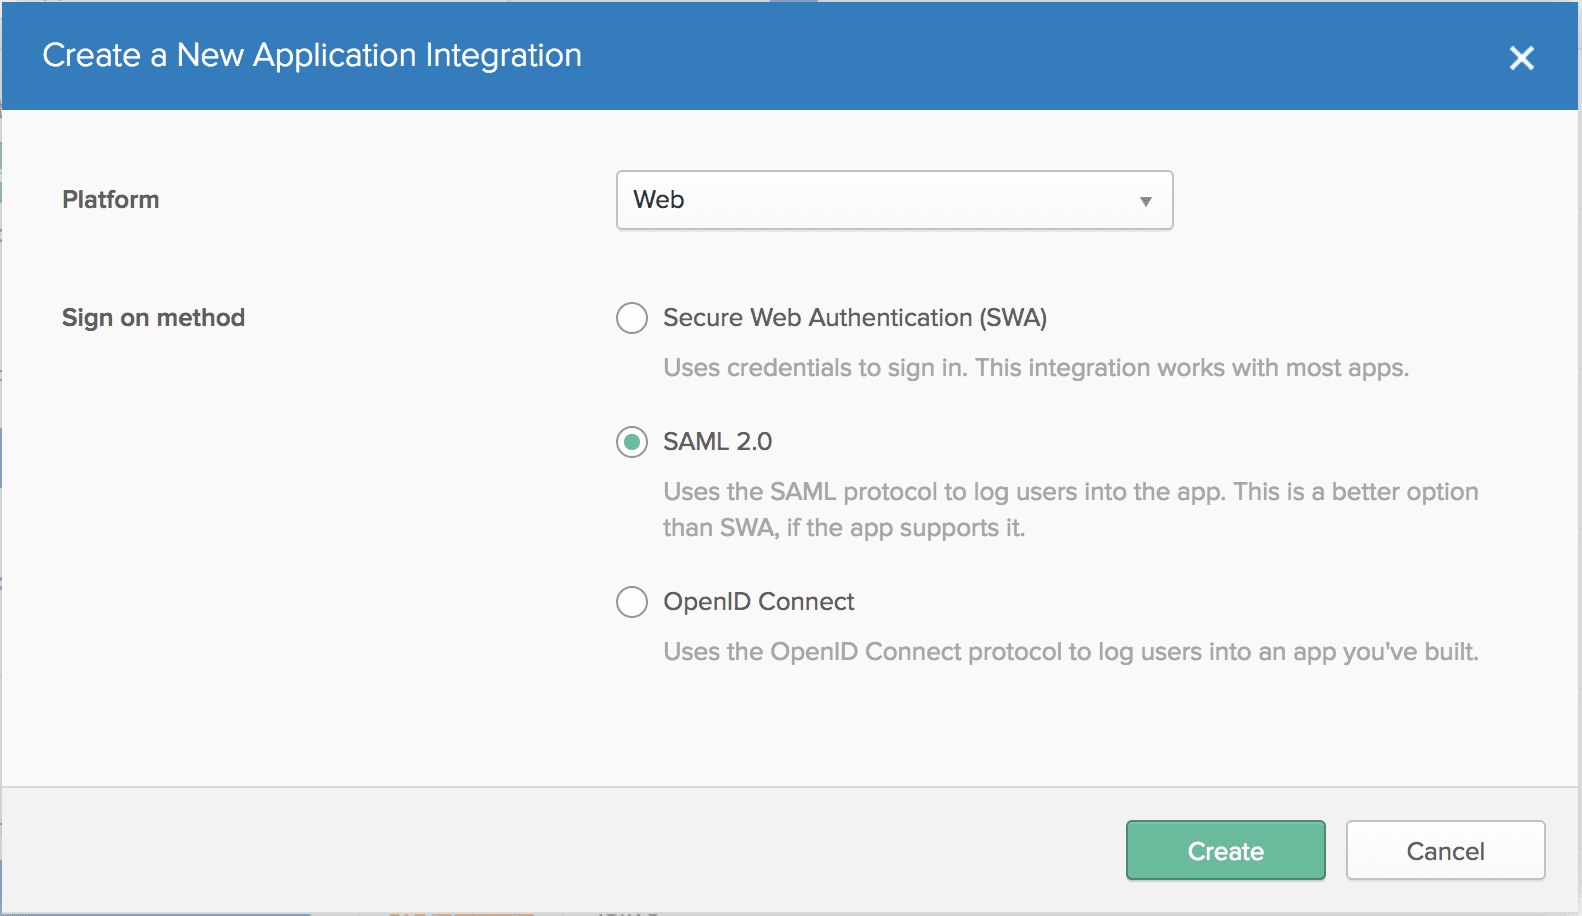
Step 3: Select Integration Type

Choose “SAML 2.0” and click “Next.”

6S efz7vG1CStFtVMN4 8fnAAcjn5LXtMzT v1o8oJI1 v Fcmjqi6gHzg8VqXhkzlWS7Oa aHguXf7wIcrkUHYmWTCncEVi1JoMdnBfN jz5fTT1 XyvkbTuK5dUFIaftVXawEvyPF98YLKfAyq00

Step 4: Define Application

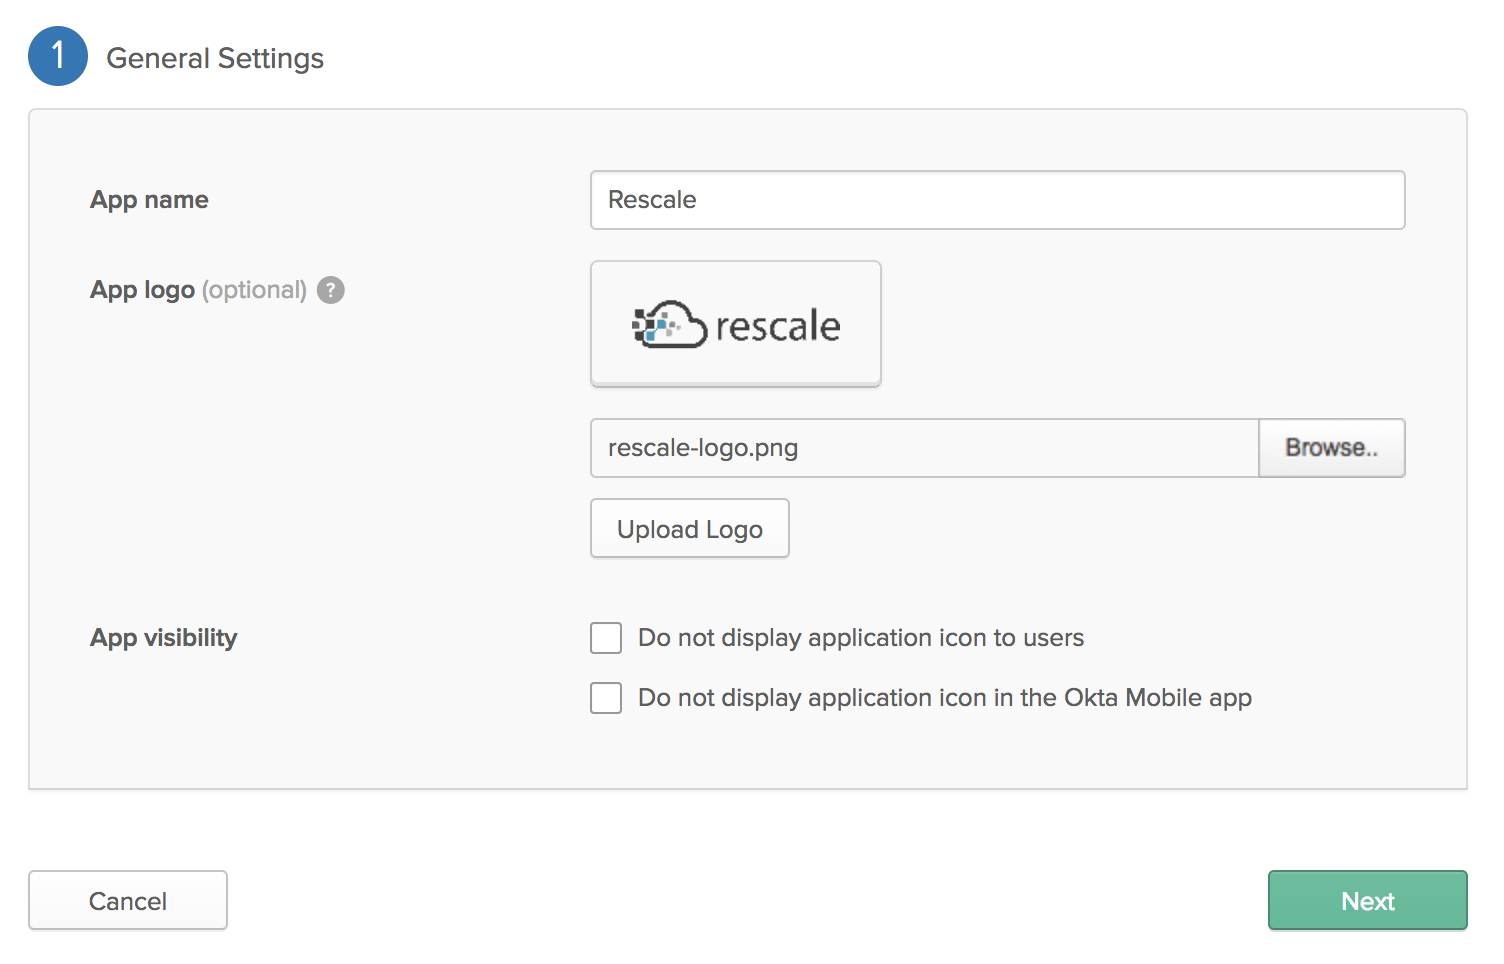
Enter “Rescale Platform” as the application name.

Upload the Rescale logo. The logo can be obtained through the official Rescale website or downloaded here.

XtELlgWNkHGjrsEBk7CyYk9ifXAEdqUDGbLym1skEzYhOYWlF80oJe4vHPH2Gx1wxIV6PlOBuVXlzAe9nOW vQIvH1SbhcOoAiK2b7mWl3vH6wgoa M7723UqS6hZ6Xkrtjvpc7F7DXt45fJCS7A8aI

Step 5: SAML Configuration

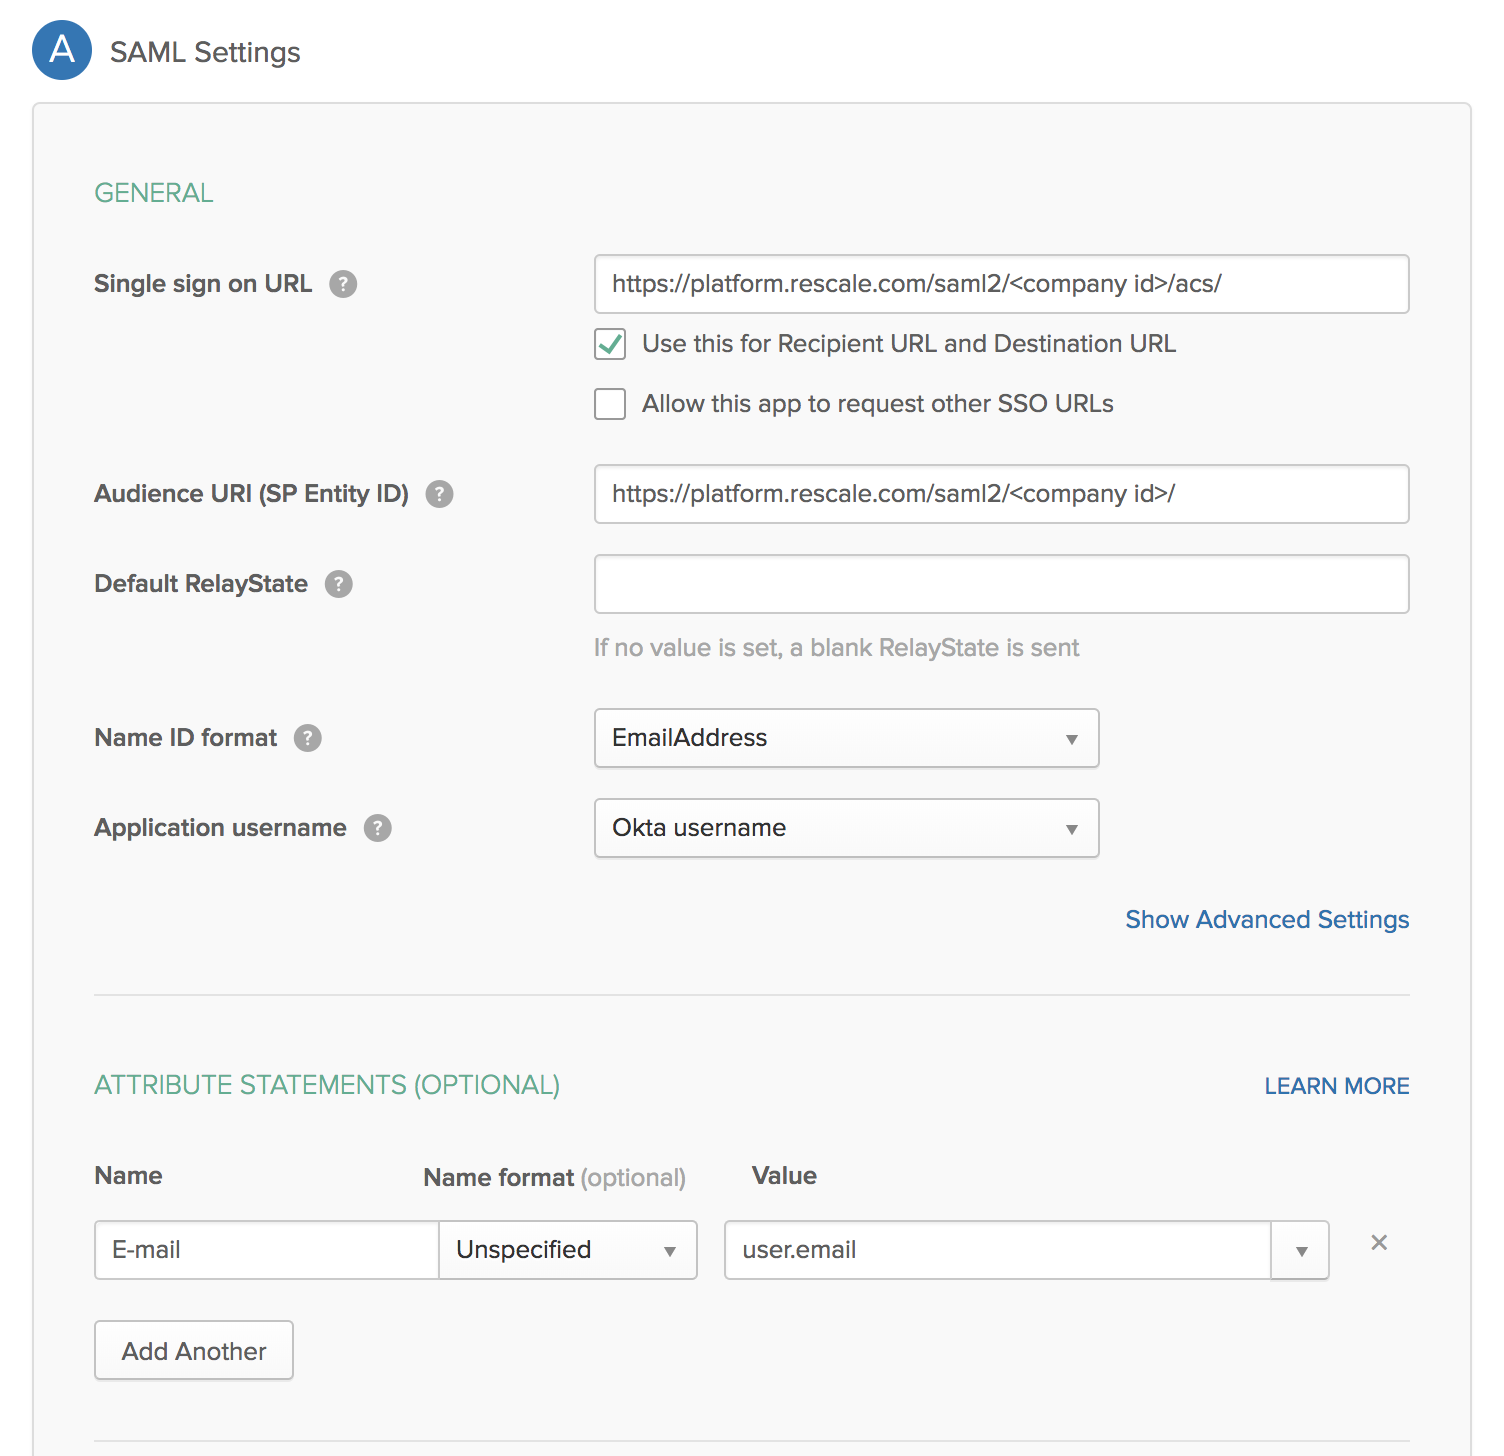
Enter the SSO URL and Audience URI from Rescale’s SSO documentation. This information is found on the Rescale Security and SSO administration portal.

Configure the following:

  • Name ID format: EmailAddress
  • Application username: Okta username
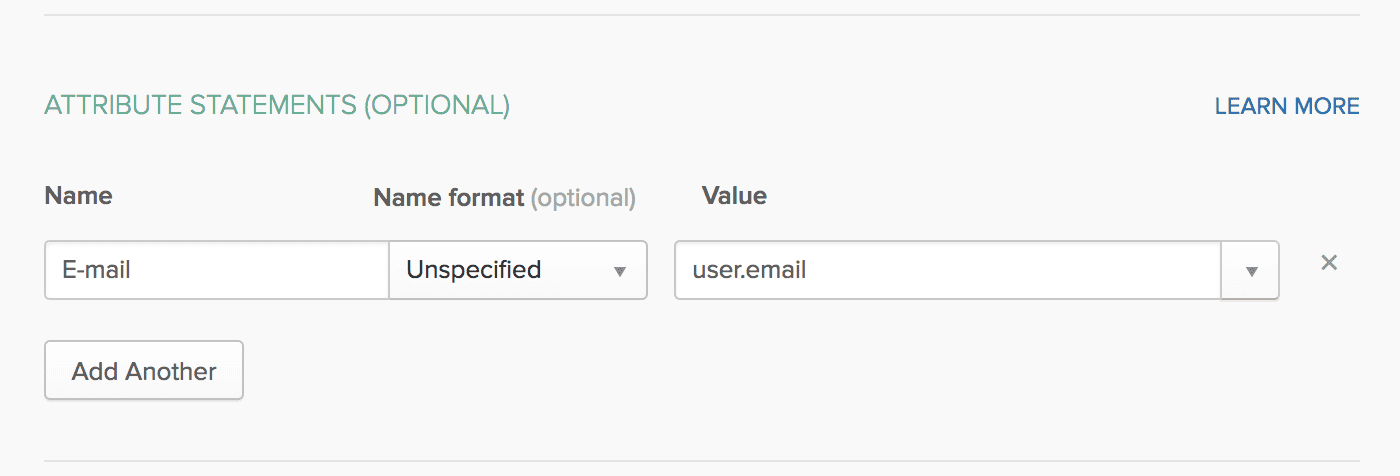
  • Attribute statements: [Detail required attributes, with “Email” as a key attribute]

Hit “Next”

6w siB0vT JmdpolXGNfulzoA6mAITB47ZOJo5JjXQUu1NE6pBlr7EbK W5VsSUxvXxNyyt35SZekll6HMbz55MYJ3pue3d4Debq6Ud9EcvuDPuNgf1jG5lvzKfHdOvV0MI1zjZuTDXRWyg O csWaw

Step 6: Review and Finish

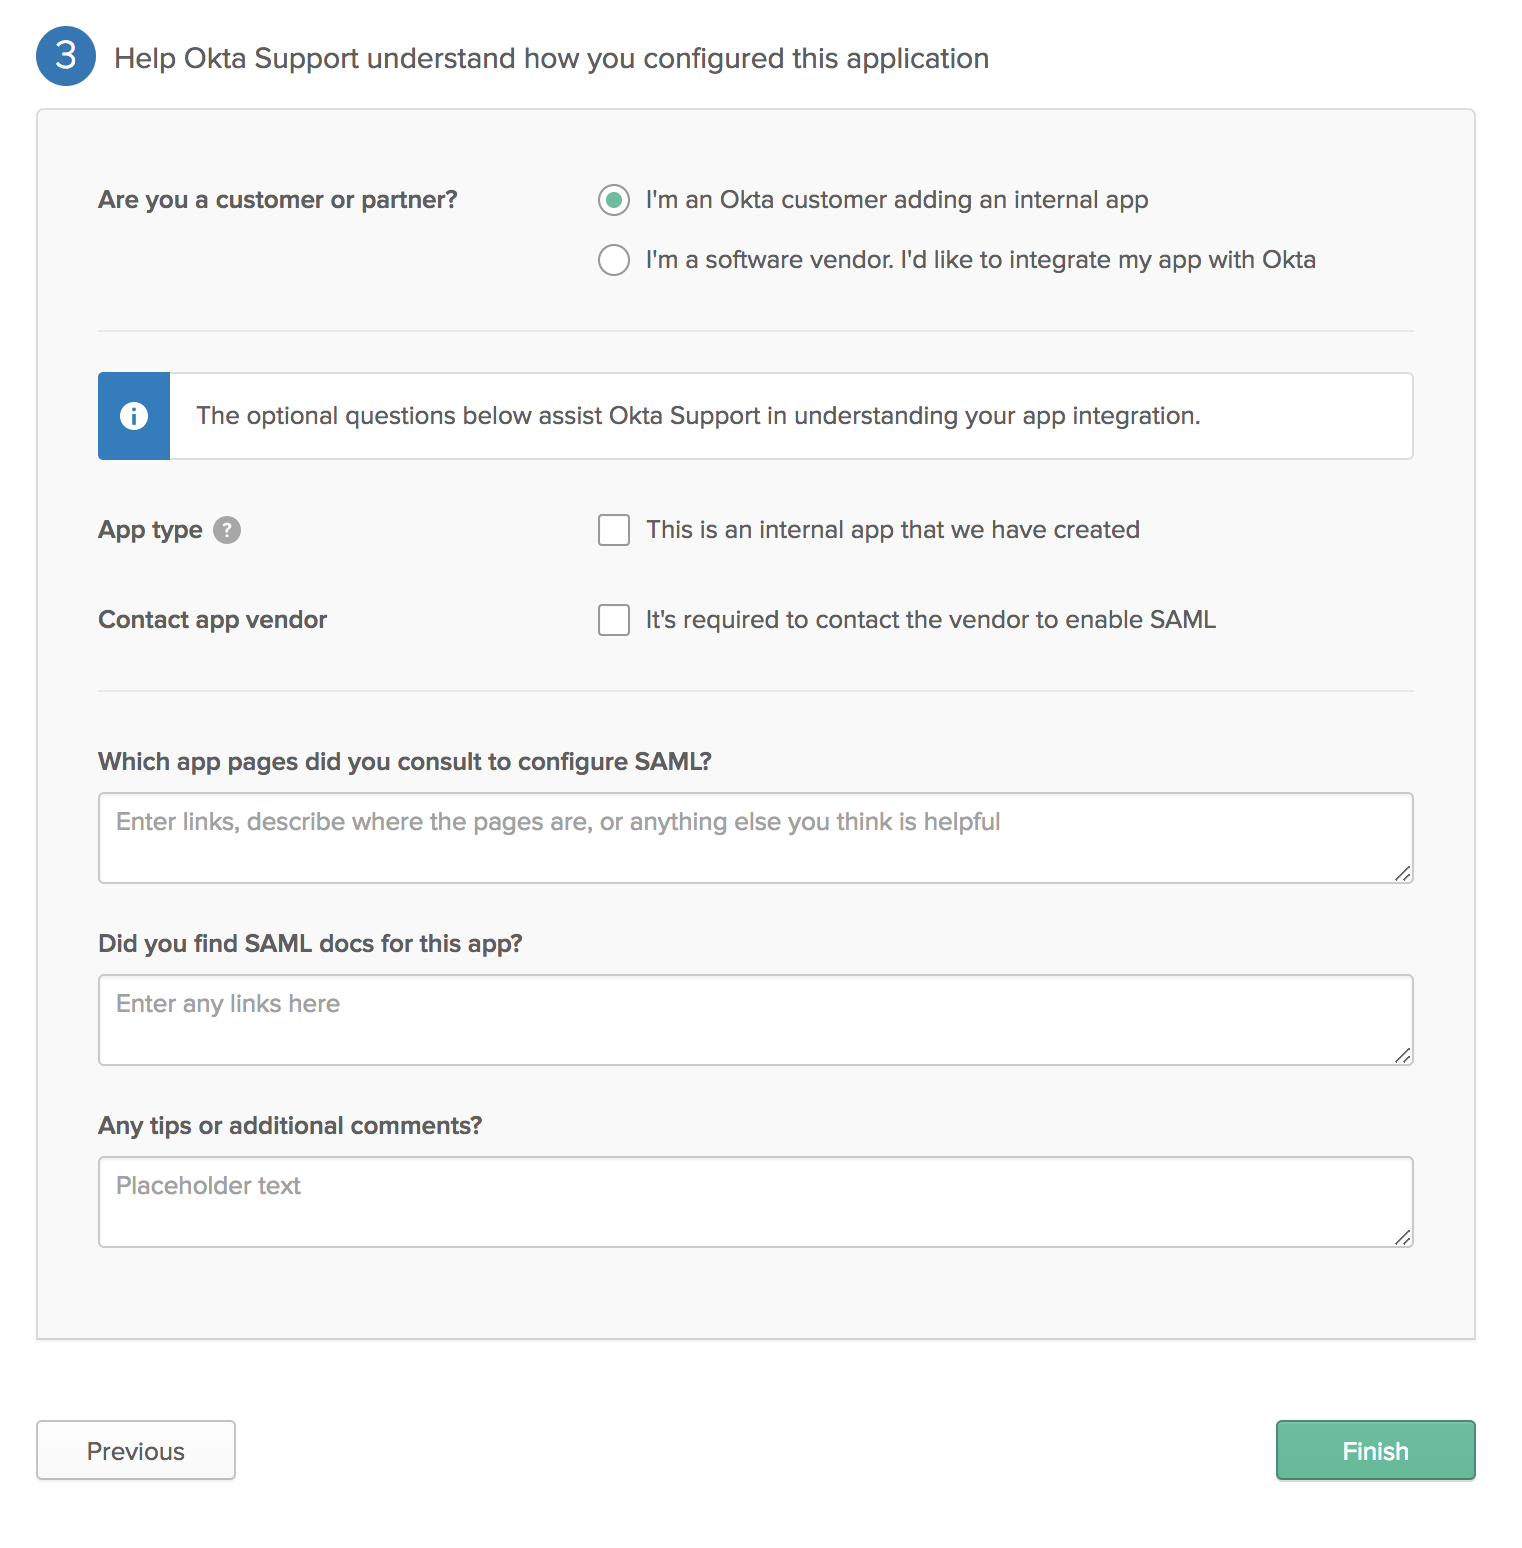
Select “I’m an Okta Customer” and click on “Finish”.

ccMn9 hKo Ehf5ZBmGmuEF4KeV7PB8sIduF1mI2jr6E3SjHNusbKSTEatEqSsJXoHs5nQWhH8lP9xUjMPYLuErU tgL oBvyBCxh7xSmz

Step 7: Metadata and Integration

Retrieve the Metadata URL from the “Sign On” tab of your application setup.

Continue the SSO setup in the Rescale Org Admin Portal using the provided Metadata URL from the SSO documentation.

2E5TimM4A0ueOec9W36LKVT5na2umB1buCW0afO9gGZq2vXiyCcPXMWKLVM9xD9B5YMtUtHtMYRtKKi9TRRgjeJN3gec 459b a07X3drbXs9FKSkplXqsvJRSLrWkWZOTHhz59VV7lWBqu zSNK MA